
Milling your own flour is one of the most rewarding steps you can take in the kitchen. It turns a simple bag of wheat berries into living flour that still carries the full flavor, aroma, and nutrition of the grain. Once you understand a few core principles—what the kernel contains, how different mills work, and how to control the grind—you move from tentative first batches to confident, repeatable results. These fundamentals form the foundation for everything else you bake with fresh milled flour.
Fresh flour starts with understanding the grain and respecting the process that unlocks it.
A wheat berry has three distinct parts. The bran is the protective outer layer, rich in fiber and minerals. The germ is the nutrient-dense embryo, full of healthy oils, vitamins, and enzymes. The endosperm makes up the bulk of the kernel and supplies the starches and proteins that form gluten. Commercial roller milling usually separates these parts; home milling keeps them together. That single difference is why freshly milled flour tastes more alive and behaves a little differently in dough.
Most home mills fall into two main categories. Impact (high-speed) mills shatter the grain with spinning teeth or pins and produce a fine, consistent flour quickly. Stone or burr mills crush the grain between two surfaces, offering more control over texture and often a cooler grind. Both work well. The key is learning your particular mill’s settings: start coarser, then move finer, and never force the burrs or stones to touch. A light “just kissing” adjustment followed by a slight opening usually gives the sweetest, most even flour without overheating the grain or creating excess starch damage.
Moisture, temperature, and grain condition matter more than many beginners expect. Store berries cool, dry, and airtight so they stay viable for months or years. Mill only what you need for the next day or two when possible—freshness peaks in the first hours after grinding. If the flour feels warm coming out of the mill, let it cool before mixing dough. Different grains (hard red, hard white, soft wheat, spelt, rye) respond differently; hard wheat usually needs a slightly coarser starting setting than soft wheat. Small test batches teach you faster than any manual.

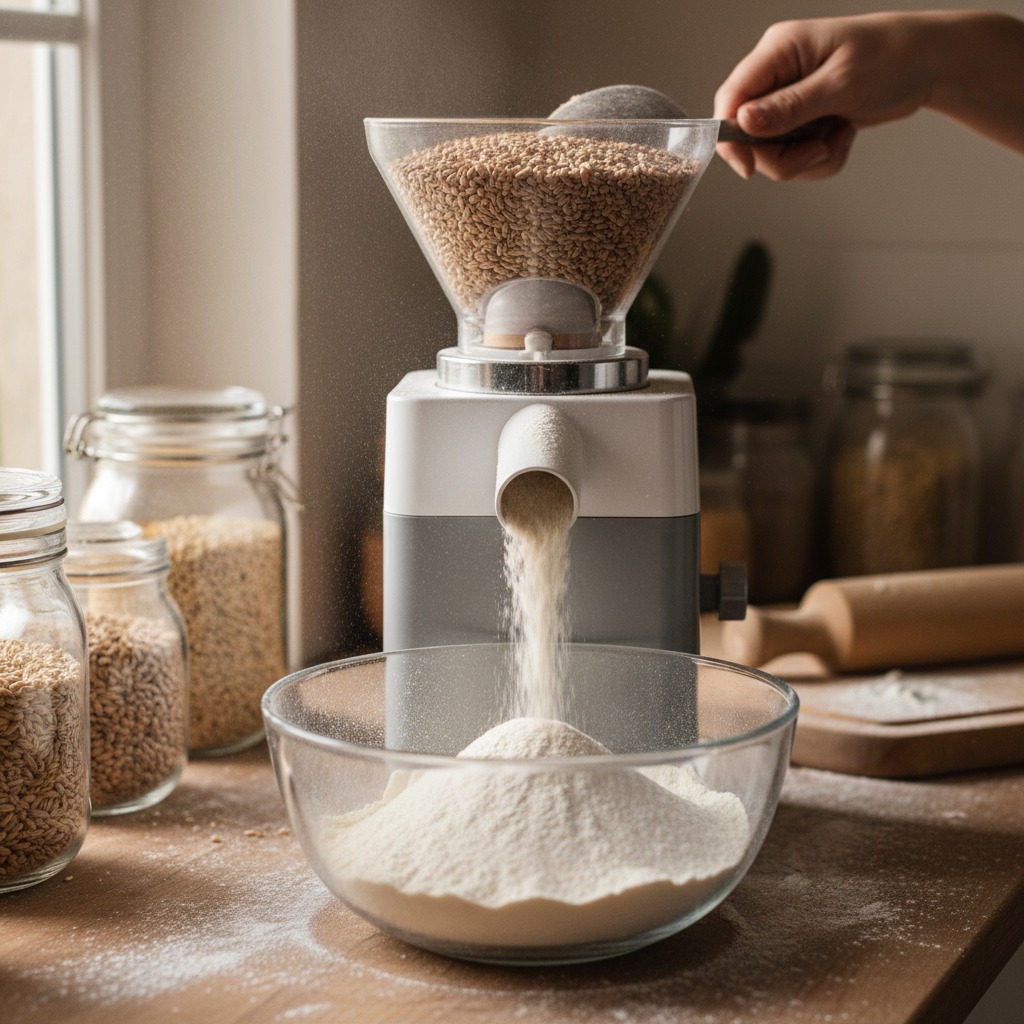
Many people assume milling is either too complicated or will automatically produce dense bread. In reality, the process is straightforward once the basics click. Proper grind size, attention to the whole kernel, and a few thoughtful adjustments for hydration and handling are usually enough. The science stays consistent: keep the parts of the grain together, control particle size, and bake while the flour is still vibrant.
Good milling is the quiet foundation of better baking
Mastering these fundamentals removes most of the guesswork. Choose quality berries, learn your mill’s voice and settings, mill close to baking time, and pay attention to how the flour feels and smells. With a little practice the process becomes second nature, and the difference shows up in every loaf, muffin, or pastry. Start simple, stay curious, and let the grain guide you.
Leave a Reply